Images are the most important thing on your chosen rental platform. You have a very short time to attract someone’s attention, so you need to make sure the pictures you’ve decided to display highlight your rental in the best and flatteringly accurate way possible. Here’s the AirRented guide for taking photos of your Airbnb to get you bookings!
I do occasional photography as part of my day job so I really enjoyed the challenge of taking images of my place. I also had photoshop software to spruce up the images and tidy any flaws that I hadn’t noticed in my images when taking them.
Despite this, don’t be intimated if you’re not confident with a camera or don’t have any editing software – you don’t need them and can still take great images of your place that will get you bookings.
Here are some tips to help you get the best out of your listing pictures.
You don’t need to hire a professional photographer.
It’s true that professionals will have ‘the eye’ when it comes to taking photos, but a lot of amateur photographers have this too. This is particularly important when working with smaller spaces which can be tricky to photograph and show off well.
When you first start out, you don’t need to spend the money on a professional. Nowadays some smart phone cameras have better lens specifications than some camera models and you can get just as good results for now with a smart phone camera and the automatic adjustment editing most smartphones will have.
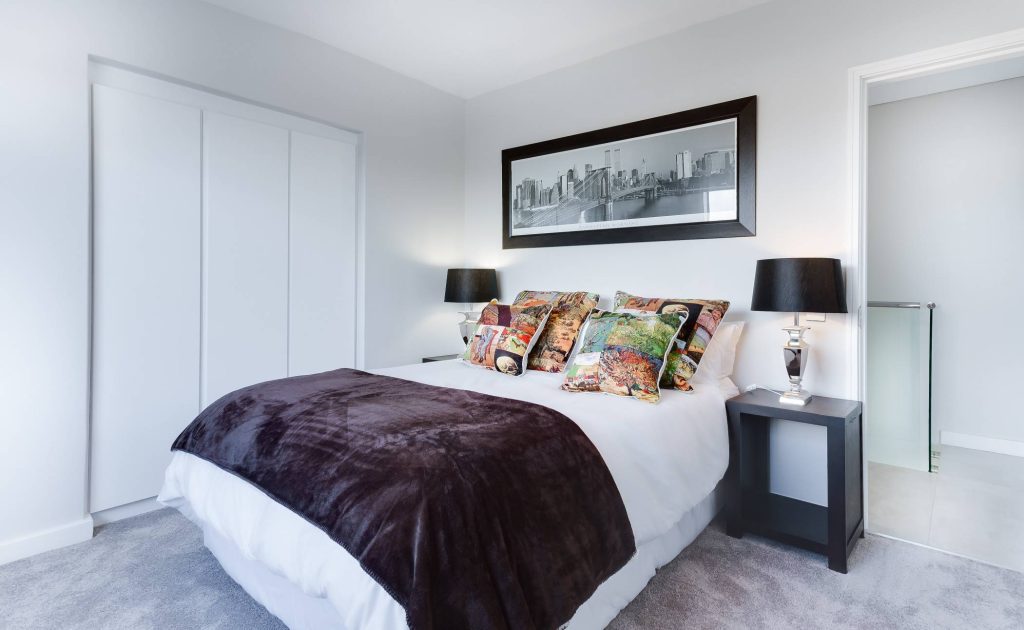
Prepare the room as guest would see it.
It sounds like a given, but prepare the room exactly as the guest will see it as they walk in. Present everything in the photo as you would present it for their arrival. Put the towels in the same spot, lay out any amenities, fix the bed to make it ready. This is really important as your accuracy rating depends on it. The closer you are to the physical representation, the better.

Tidy and fix up the ‘edges’.
Sometimes you may have to tidy a shot more than it would appear in real life. This is particularly true when it comes to wires. If you don’t have software to edit these out such as photoshop, hiding these out of the way can make a huge difference to photos as it keeps them less cluttered and easier to interpret at a quick glance.
For example, with bedside tables sometimes in person you’ll be able to see wires trailing down the back to a plug socket. I personally think the shot looks cleaner if you unplug the lamp and hide the wires so you’re just showing the lamp without the trailing wires.
Take care when making the bed to remove any creases and make the corner folds neat and well presented. It’s important to make the bed as inviting as possible with these images so taking extra time to smooth out the linen and make it crease-free by ironing is a good idea.

Take photos during the day using natural light.
Don’t take photos at night when the room will be illuminated by interior lighting. Artificial lighting from bulbs and indoor lamps can be difficult to work with.
In the evening and at night, indoor lights cast deep dark shadows and the room will look smaller.
There is a fine line between making a room look cosy and making it look dim, dark and gloomy and ‘cosy’ can be tricky to get across properly.
Darker images can also appear grainy and poorer quality if you don’t use the correct settings.
Instead, throw open the curtains and shades and let as much natural light in as possible. Avoid taking pictures on bright sunny days if you can and wait for a bright but overcast day.
Clouds act as natural light diffusers which softens shadows and harsh bright sunlight which can change the natural colours of a room.
If you can’t wait for an overcast day, let the sunlight work for you – take some images of when the sun is coming through the window for an atmospheric photo and see if this looks better.
Be aware that sunlight can highlight floating dander in the air which can give off the wrong impression so be sure to edit this out if this shot is good.
Take a step back and lower the camera
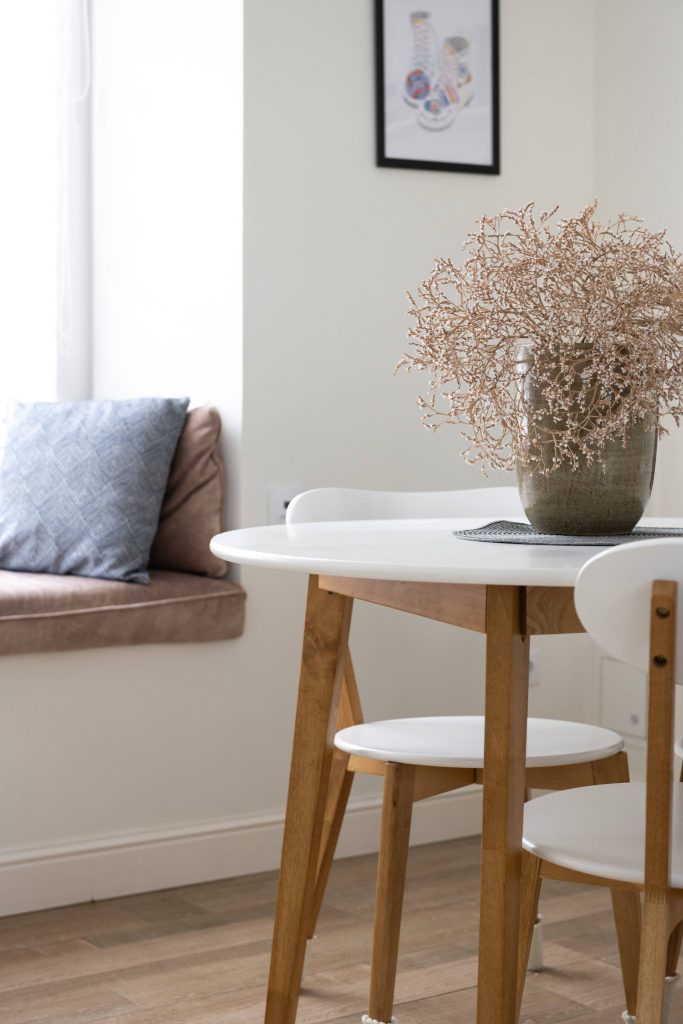
Get into the corner of a room if you can (you may need to move smaller bits of furniture to do so) and take a shot from chest height rather than from above looking down.
Shots at chest or weight height bring you into the room and make the shot more professional and easier to look at for the eye.

Take photos of features or focus points
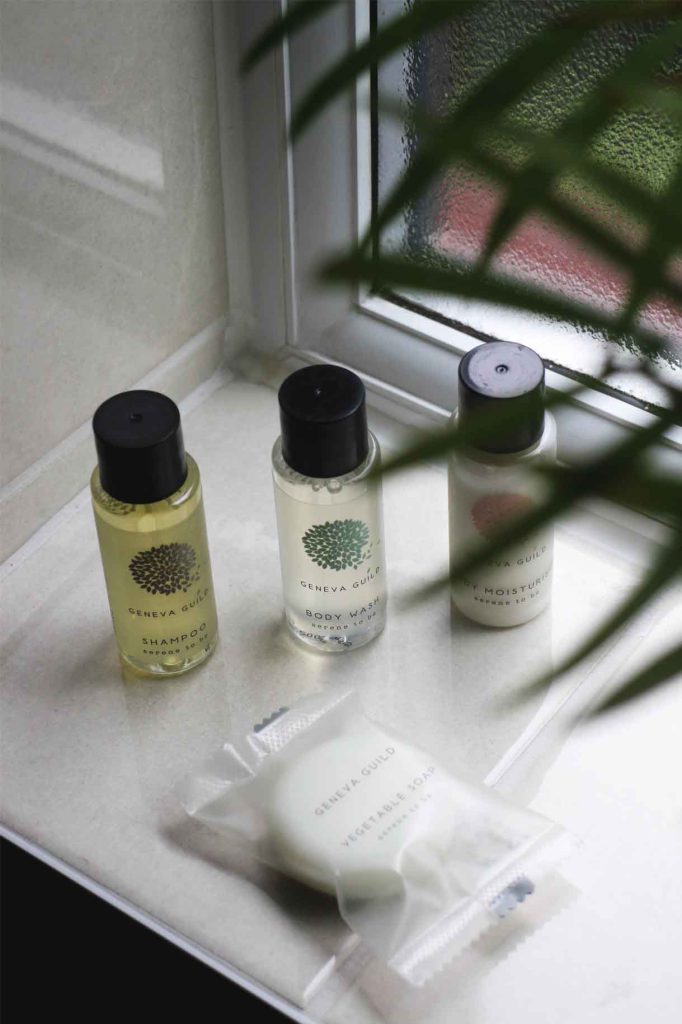
Taking images of any extras that you add, for example bottled water or toiletries is a good idea. Just make sure they are the same brands that you will actually use for guests.
You want to make the images identical to experience they will see on the day that they arrive.
Likewise if you have any unique features of the room, for example a fireplace or another prominent feature, highlight this by taking a photo of it. These little quirks and unique parts of rooms give a property it’s charm.
Avoid special effect lenses
I’ve seen listing images be taken with fish-eye lenses. Don’t do this.
Manage expectations, don’t over exaggerate.
It’s important to be as accurate as possible. You want to give the best impression of the room without misleading your guests.
Cameras will naturally make a room look larger than it is in comparison to standing in it in person and with specifically shot angles, this can be exaggerated even more.
As long as there is not a drastic difference between your images and the room, your guests will be happy.
Go ‘lite’ on the editing
Following on from the above, go lite on the editing too. It’s very easy to completely photoshop and transform a room with heavy editing.
When editing a photo it should be subtle enough that it doesn’t notice but strong enough that it improves the photo and fixes any flaws. If someone notices a photo has been edited, it’s been overdone.
The very nature of editing is to cover up flaws – this is perfectly acceptable for things like removing creases in linens, adjusting lighting, brightening or darkening a room to provide better accuracy when showcasing it.
It shouldn’t be used to photoshop out things that need addressing, for example damage to walls or faults that may wholly mislead.
On an iPhone for example, you can ‘auto-edit’ a photo, which automatically brightens and adjusts a photo’s contrast and saturation to make it look better. You’ll find this will transform your photos enough and make them look good enough to use so it’s better to stick with this.
Don’t supply lots of images of local area.
On my listing, I provide just one image of a close by local attraction to highlight a pull factor of the local area.
This is actually a 5-minute drive away so is very close to the property and my guests come from far to visit for this reason so I feel it’s important to include it. I have a lot of nature reserves near me too, so I could even use an image of one of those.
Avoid filling your listings with lots of images of your local area though – your guest can google local images of the area very easily and will likely be doing their own research on the local area.
But they can’t find any more images of your place outside of your listing, so make sure you only use these local images as a brief highlight at the end without forgoing more useful images of your own place.
Take new images every few months to refresh your listing.
Airbnb’s algorithms seem to favour listings that refresh their images often. You don’t need to completely revamp all of your pictures but if you add or change one of them every few months this can help keep your listing fresh.
If you change the amenities you provide this can be a good time to take a quick new snap and upload it. It makes sense as properties change over time. Items are changed, trends change, plants are replaced, and new things are added.
If your listing hasn’t really had any updating or if nothing has changed and your struggling to retake images. Added or changing and image of the local area as explained above will have the same effect.
Sometimes no matter how good your photos are, they still won’t do a room justice to seeing it in person. That’s why its important to get the best of your images to grab as much attention to your listing.
Once the bookings start building, your guests reviews will mention how nice the space was and provide more insight about their experience than photography ever can.
